
Welcome to Nixsy Breedables
Stay updated with the latest news, updates, and lore about your virtual pets. Discover breeding tips, and community events.
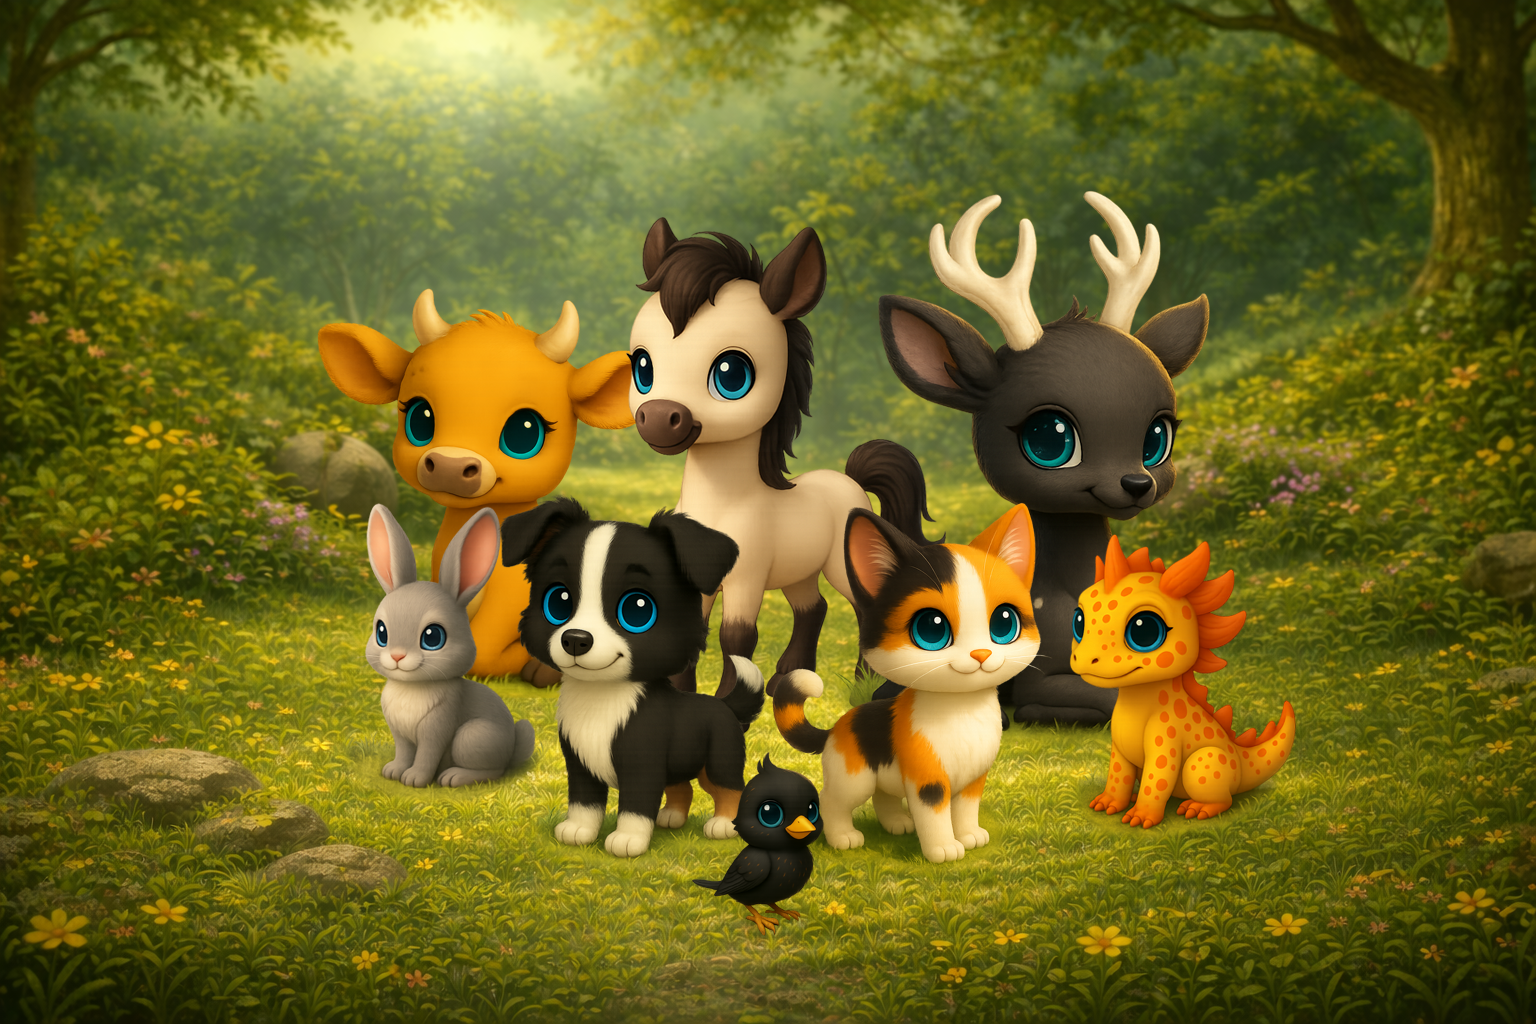
If you are new here you may be wondering what Nixsy Breedables actually is? Nixsy Breedables is a new breedable pet that is coming to Second Life.
- ☆Nixsy pets are fully animesh with a static option that is lower Land Impact.
- ☆All species can breed to each other!
- ☆Traits including species, eyes, coats, etc plus several more planned traits for the future.
- ☆Easy feeding system without a bunch of complex add-ons. We only have 1 food source required.
- ☆No sickness or sickness cure needed.
- ☆Easy point system for unwanted pets.
How to use your Nixsy pets and tools
Start with the first card if you are new. Open any section below for step-by-step instructions, important notes, images, and videos.
Start hereGetting Started with Nixsy
The basic setup every new owner should do before birthing, breeding, or using pets.
+
Getting Started with Nixsy
The basic setup every new owner should do before birthing, breeding, or using pets.
Nixsy Breedables are interactive breedable pets for Second Life. To work correctly, your pets require a Nixsy Token rezzed out and owned by you.
What you need first
- 1Attach your Nixsy HUD.
- 2Rez your Nixsy Token.
- 3Rez any babies you want to birth. Babies may take a moment to register before their hovertext appears.
- 4Make sure you have a food bowl rezzed or server food portions owned by the same account. Food bowls and server food portions can be purchased on the main sim or at any satellite store.
Important token notice
- ☆Always keep a token rezzed when pets need to be birthed.
- ☆Always keep a token rezzed when pets need to breed or make babies.
- ☆Always keep a token rezzed when using normal breedable functions.
- ☆Always keep a token rezzed when attempting to swap from static to animesh and vice versa.
- ☆In general, use a token any time a pet is doing more than sitting idle, especially if the pet is unborn.
WebsiteCreating Your Website Account
Link your Second Life avatar to your Nixsy website account using the HUD and a one-time code.
+
Creating Your Website Account
Link your Second Life avatar to your Nixsy website account using the HUD and a one-time code.
Your website account lets you view your live pets, babies, account information, support tickets, Forest Points, and other Nixsy features.
- 1Wear or attach your Nixsy HUD.
- 2Click My Account on the HUD.
- 3A blue URL popup will appear.
- 4At the same time, a private linking code will appear in local chat. Copy that code.
- 5Click Go to Page on the popup.
- 6When the website opens, paste or type the code from local chat.
- 7Click Submit.
Important notes
- ☆If you do not see the My Account button, click the HUD Home button.
- ☆Each linking code is random, can only be used once, and expires after 5 minutes.
- ☆Enter the code exactly as it appears in local chat. Copy and paste is recommended.
- ☆The linking code safely connects your Second Life avatar to your website account.
Mobile or tablet login
To log in from a phone or tablet, open your My Pets page and click the account button near the top. Enter a password, then click Save Password. Do NOT use your Second Life password.
After saving a website password, you can log in using your Second Life username and the NON-SL password you created.
WebsiteViewing Your Pets, Pet Pages, and Family Trees
Where to find your live pets, unborn babies, individual pet pages, and family tree pages.
+
Viewing Your Pets, Pet Pages, and Family Trees
Where to find your live pets, unborn babies, individual pet pages, and family tree pages.
Live pets and babies can be viewed on your My Pets page. After linking your account, click My Pets in the upper right of the website.
My Pets page guide
- ☆1 - The My Pets button opens your pet list.
- ☆2 - The account button opens account settings and mobile/tablet password setup.
- ☆3 - The tickets button opens support tickets.
- ☆4 - Food reserves show your server food wallet portions.
- ☆5 - Forest Points show your current point total.
- ☆6 - Nixsy Babies shows all unborn Nixsy babies you currently own.
- ☆7 - Total Nixsy shows all Nixsy you own, live and unborn.
- ☆8 - Search filters help you find pets by name, ID, status, species, gender, traits, and age order. Change filters and click Apply. Click Clear when finished.
- ☆9 - Pagination buttons let you choose how many pets display per page.
- ☆10 - Each pet detail card shows one pet.
- ☆11 - Grid and list view buttons change how pet cards are displayed.
Individual pet pages
Every pet has its own detail page, whether it is live, unborn, frozen, retired, or listed for sale. Pet pages can show the pet name, pet ID, species, gender, traits, age, status, and a family tree button.
Family tree pages
Every pet also has a family tree page. Open it from the pet detail page by clicking the family tree button, or click a pet in-world and use the Tree button on your HUD.
BabiesBirthing Babies
How to turn an unborn Nixsy baby into a live pet.
+
Birthing Babies
How to turn an unborn Nixsy baby into a live pet.
Babies are unborn Nixsy pets. They are not live births yet. Nixsy babies do not age, breed, or eat until they are birthed.
How to birth a baby
- 1Make sure your Nixsy Token is rezzed on the region or parcel.
- 2Rez the baby or offspring.
- 3Click the baby.
- 4Click Birth.
Once birthed, the baby becomes a live pet.
Important notes
- ☆There is no extra confirmation step.
- ☆Make sure your token is rezzed before birthing.
- ☆Do not pick up or delete the baby after clicking Birth.
- ☆A pet’s age begins when it is birthed in-world, not when the baby was first created.
- ☆Babies can stay unborn forever.
CareFeeding and Lust
Production pets eat one food portion every 6 hours. Each portion gives 5% lust.
+
Feeding and Lust
Production pets eat one food portion every 6 hours. Each portion gives 5% lust.
Nixsy pets eat one food portion every 6 hours. Each food portion gives the pet a 5% lust increase.
Food options
- ☆Food bowls
- ☆Server food portions
Using food bowls
Food bowls can be purchased at the main region or any satellite store. After purchasing a food bowl, unpack it and rez it on the ground.
- ☆Only one food bowl is required per owner per region.
- ☆Food bowls are not refillable.
- ☆Pets do not need to be close to the food bowl.
- ☆There is no pet distance restriction for feeding.
- ☆There is no limit to how many pets can eat from a bowl.
Using server food
Server food lets pets eat without needing a food bowl rezzed in-world. Make sure you have active server food portions available when using this method.
Manual refill vendor
- 1Left click the vendor.
- 2Select an amount.
- 3Click the vendor and select Pay.
- 4Click Pay again to pay the amount shown.
Auto-subscriber
The auto-subscriber can automatically refill server food portions when your portions get low. Grab a free auto-subscriber from the main region or any satellite store, unpack it, and click it to set up either portions or L$ amount. Turn it on and accept debit permission so it can charge you for the portions you selected.
Using food bowls and server food together
You can rez food bowls and keep server food as a backup. Pets will eat from your food bowls first. If your bowl runs out and you have server food portions available, pets will use server food instead of going without food. Server food portions are shown on your HUD home page and on your My Pets page.
If your pet is not gaining lust
- ☆Is your Nixsy Token rezzed nearby?
- ☆Is the pet a breedable pet?
- ☆Is the pet Friends Forever?
- ☆Is the pet retired from breeding?
- ☆If using food bowls, does the owner have a bowl in the same region?
- ☆If using server food, does the owner have active server food portions?
- ☆Is there an available mate? Parent/child breeding is not possible.
BreedingBreeding Basics and Breeding Cycle
Nixsy breeding uses genetics, 100% lust, eligible partners, and percentage chance rolls.
+
Breeding Basics and Breeding Cycle
Nixsy breeding uses genetics, 100% lust, eligible partners, and percentage chance rolls.
Nixsy breeding is based on genetics. The entire 4-generation family tree is used to calculate what offspring can get.
Pets require 100% lust and an eligible partner on the same region, sim, or parcel. Pets gain 5% lust every 6 hours when food is available, so a normal breeding cycle is 5 days.
Basic breeding requirements
- ☆The pet must be live.
- ☆The pet must have 100% lust.
- ☆A Nixsy Token owned by you must be on the same region, sim, or parcel.
- ☆The pet must be able to rez.
- ☆The region, sim, or parcel must have available LI/prims you can use.
- ☆The pet must not be Friends Forever.
- ☆The pet must not be retired.
- ☆The breeding pair must not be parent/child.
Treats and breeding cycle examples
Treats are optional. Nixsy has 5% Treats and 10% Treats. A pet may only receive one treat every 48 hours, so each breeding cycle can include a maximum of two treats.
| 5 days | Normal / no treats |
|---|---|
| 4.75 days | One 5% Treat |
| 4.5 days | One 10% Treat or two 5% Treats |
| 4.25 days | One 10% Treat and one 5% Treat |
| 4 days | Two 10% Treats |
How to give a treat
- 1Rez the treat you want to use.
- 2Click the pet.
- 3Click the gear icon on your HUD.
- 4Click Give Treat.
BreedingPairing and Separating Pets
Pairing locks two compatible pets together as breeding partners.
+
Pairing and Separating Pets
Pairing locks two compatible pets together as breeding partners.
Pairing lets you choose a specific breeding partner. Once pets are paired, they should only breed with their paired partner.
How to pair pets
- 1Click the pet you want to pair.
- 2Click the gear icon on your HUD.
- 3Click Pair.
- 4Select the pet’s intended partner.
- 5That is it.
How to separate or unpair pets
- 1Click one of the paired pets.
- 2Click the gear icon on your HUD.
- 3Click Separate.
- 4That is it.
Important notes
- ☆Pairing is useful when you want two specific pets to breed together.
- ☆Unpaired pets may breed with other compatible pets.
- ☆If a pet is paired, it should only breed with its paired partner.
- ☆If you forest one pet from a pair, the remaining pet will unpair itself.
BreedingOwner Mode and Group Mode
Control whether pets breed only with your pets or with compatible pets owned by users in the same group.
+
Owner Mode and Group Mode
Control whether pets breed only with your pets or with compatible pets owned by users in the same group.
Owner mode and group mode are used when you want two pets owned by different users to breed without passing pets back and forth.
Owner Mode
Pets in owner mode will only breed to pets you own.
Group Mode
Pets set to group mode can be bred by two different owners as long as both pets are set to the same land/rezz group.
If group breeding is not working
- ☆Both pets must be set to group mode.
- ☆Both pets must be set to the same group.
- ☆The land/rezz group must be correct.
- ☆Both pets must be eligible to breed.
- ☆Both users should have Nixsy Tokens rezzed.
TraitsLimited Editions and Special Editions
LE and SE pets have special trait rules, but trait passing is never guaranteed.
+
Limited Editions and Special Editions
LE and SE pets have special trait rules, but trait passing is never guaranteed.
Limited Editions and Special Editions have special trait rules. LEs are always purchased pets. SEs are special breeding outcomes. Any pair of pets breeding during an active SE window can produce an SE.
Limited Editions
Limited Edition coats do not pass. The visible coat you see on an LE will never pass.
Hidden Limited Edition traits may pass, and all shown Limited Edition traits except the coat may pass, depending on that Limited Edition’s setup. Hidden coats can pass from LEs as well.
An LE anywhere in the family tree can pass valid shown or hidden traits. All LEs have an equal chance to pass their valid shown/hidden traits; there are not passing LEs and non-passing LEs.
Special Editions
Special Edition traits may or may not pass depending on that SE’s setup. Some SEs may allow shown traits, hidden traits, or both to pass. Some SE coats may pass, which is one of the main differences between LEs and SEs.
Important notes
- ☆LE and SE trait passing is never guaranteed.
- ☆All LE and SE trait passing is based on percentage chance and that LE/SE’s setup before release.
- ☆Breeding two LE or SE pets does not guarantee LE or SE traits will pass.
HUDRenaming Pets
Rename your pet from the HUD without changing its pet ID or breedable records.
+
Renaming Pets
Rename your pet from the HUD without changing its pet ID or breedable records.
You can rename your pets through the HUD.
- 1Click the pet.
- 2Click the gear icon on the HUD.
- 3Click Rename.
- 4Enter the new name in the input box.
- 5Click Submit.
MovementSet Home, Set Range, and Send Home
Control where pets live, how far they move, and how to send one or all pets home.
+
Set Home, Set Range, and Send Home
Control where pets live, how far they move, and how to send one or all pets home.
Set Home and Set Range help control where your pet stays and how far it may move. If you do not set a home, the pet’s home is where it was rezzed.
Set Home — single pet
- 1Move the pet to the point you want as its home.
- 2Click the pet.
- 3Click the gear icon on your HUD.
- 4Click Set Home.
Set Range — single pet
- 1Click the pet.
- 2Click the gear icon on your HUD.
- 3Click Set Range.
- 4Type the range you want into the input box.
- 5Click Submit.
Set Home or Range for all pets
- ☆For all pets, click your Nixsy Token and click Set Home.
- ☆To set range for all pets, click your Nixsy Token, click Set Range, enter the range, and click Submit.
Sending pets home
- ☆For all pets, click the gear icon on your HUD and click All on the send-home menu.
- ☆For one pet, click the pet and click One on the send-home menu.
Important notes
- ☆Max range is 96 meters.
- ☆Range is a sphere from the pet’s location, not a flat circle.
- ☆Pets on Animesh 2 will teleport home if they get stuck.
- ☆It is usually a good idea to set home for all pets when they are moved, but it is not required.
AppearanceStatic or Animesh Modes
Choose static, idle animesh, or full animesh mode without changing how the pet functions.
+
Static or Animesh Modes
Choose static, idle animesh, or full animesh mode without changing how the pet functions.
Live pets can be in static mode, Animesh 1 mode, or Animesh 2 mode. Pets function the same no matter which mode they are in.
This is useful for photos, events, lower LI/prim use, markets, or personal preference.
How to set a mode
- 1Click the pet.
- 2Click the gear icon on your HUD.
- 3Click the mode you want: 0, 1, or 2.
- 4Wait for the model to swap. This can take up to 1 minute on laggy regions.
Modes
- ☆Mode 0 Static — 3 LI/prim — no movement.
- ☆Mode 1 Animesh — 21–26 LI/prim depending on model — pet animates in place.
- ☆Mode 2 Animesh — 21–26 LI/prim depending on model — pet walks around.
SupportRebuild
Refresh a pet’s in-world object, scripts, or appearance from the server.
+
Rebuild
Refresh a pet’s in-world object, scripts, or appearance from the server.
Rebuild is used when a pet needs to refresh its in-world object, scripts, or appearance from the server. If a pet is not acting right, you can try rebuilding or re-rezzing the pet.
When to use rebuild
- ☆Support tells you to rebuild a pet.
- ☆A pet needs to refresh.
- ☆A pet has an object, script, or appearance issue that rebuild may fix.
Important notes
- ☆Rebuild does not create an extra breedable copy.
- ☆Rebuild is not recommended for Friends Forever pets because there is no 100% guarantee they will remain exactly as they were before rebuild.
UpdatesUpdating Pets
Use your Nixsy Token to update live pets and babies when updates are available.
+
Updating Pets
Use your Nixsy Token to update live pets and babies when updates are available.
Updates keep Nixsy breedable pets current with the latest scripts, features, and fixes.
How to update your pets
- 1Click your Nixsy Token.
- 2Click Update Pets from the popup menu.
- 3Wait until the update is done. You will see a message in local chat when it is finished.
- 4If you need to stop the updater, click your token and click Stop Update.
Important notes
- ☆Updates do not change your pet’s traits.
- ☆Updates can update live pets and babies.
- ☆Friends Forever pets do not receive updates.
- ☆If an update fails, you can manually rebuild the pet and this will update it.
- ☆If a pet does not work correctly after updating, submit a support ticket.
Forest PointsEnchanted Forest and Foresting Through the HUD
Exchange live pets or babies for Forest Points using the HUD.
+
Enchanted Forest and Foresting Through the HUD
Exchange live pets or babies for Forest Points using the HUD.
Foresting pets is Nixsy’s trade-in system. You can exchange live pets or babies for points that can be used at the Enchanted Forest board/vendors. Each live pet or baby sent to the forest gives 50 Forest Points.
Forest Points can be viewed on the HUD and on your My Pets page.
How to forest through the HUD
- 1Click the live pet or baby.
- 2Click the gear icon on your HUD.
- 3Click Return Pet To Forest.
- 450 Forest Points will be added to your total and the pet will disappear from in-world.
Important notes
- ☆Forested live pets and babies are removed from your My Pets page.
- ☆Pets sent to the forest automatically unlist themselves from the Virtual Market.
- ☆Make sure you selected the correct pet or baby before clicking Return Pet To Forest. The pet’s name displays right below that button.
Forest PointsMass Forester
Send multiple live pets or babies to the forest quickly using a particle range ring.
+
Mass Forester
Send multiple live pets or babies to the forest quickly using a particle range ring.
The Mass Forester helps send multiple live pets or babies to the forest more easily. It is useful when you have a large number of pets or babies you want to forest.
How to use the Mass Forester
- 1Move live pets, babies, or both near the Mass Forester, or move the Mass Forester to the pets.
- 2Click the Mass Forester.
- 3A particle ring will appear to show the Mass Forester’s range.
- 4Check carefully that only the pets or babies you want to forest are inside the ring.
- 5Click Start.
- 6The Mass Forester will send pets/babies in range to the forest.
If you made a mistake
Quickly click the Mass Forester and click Stop.
Important notes
- ☆Only click Start after checking what is inside the particle ring.
- ☆Do not start the Mass Forester if pets or babies are inside the ring that you do not want to forest.
- ☆If a live pet or baby was forested by accident, file a support ticket with the pet ID or pet name.
ToolsRedelivery Portal
Redeliver live pets or babies by entering the pet ID into the in-world redelivery portal.
+
Redelivery Portal
Redeliver live pets or babies by entering the pet ID into the in-world redelivery portal.
The redelivery portal is an in-world object used to redeliver live pets or babies. This is mostly used for pets you cannot find in-world, pets that wandered off, or cases where Second Life failed to rez something correctly.
How to use the redelivery portal
- 1Find the pet’s ID in-world or on the website.
- 2Copy the pet ID.
- 3Click the redelivery portal.
- 4Select By PID from the menu.
- 5Enter the pet ID.
- 6Click Submit.
- 7The pet or baby will appear in front of your redelivery portal.
Redelivery through a support ticket
If you have redelivery through a support ticket, an Admin or CSR will tell you when your fixed pet is ready. Once staff says the pet is ready, you can deliver the fixed pet again with the redelivery portal. Follow the instructions given in your support ticket.
Important notes
- ☆Redelivery does not create an extra breedable copy. Any duplicate will be marked as a duplicate even if rezzed or redelivered later, or if the original pet was forested.
- ☆Pets sent to the forest cannot be redelivered by you. If you need help with an accidentally forested pet, submit a support ticket.
StorageFreezer
Store live pets safely, freeze their age, and release them later through redelivery.
+
Freezer
Store live pets safely, freeze their age, and release them later through redelivery.
The freezer safely stores your live pet and removes it from in-world. Freezers are useful for freezing a pet’s age. Frozen pets can be viewed by clicking the freezer, and frozen pets show a frozen badge on your My Pets page.
How to freeze a pet
- 1Get the pet ID in-world or on the website.
- 2Click the freezer.
- 3Click Freeze PID.
- 4Enter the pet ID in the input box.
- 5Click Submit.
- 6The pet will disappear from in-world.
- 7Click the freezer to view frozen pets in the blue popup. The popup shows which pets are in the freezer and their age when placed in the freezer.
You can also view frozen pets on your My Pets page by setting the Status filter to Frozen and clicking Apply. Freezers never expire and can be reused forever.
How to unfreeze a pet
- 1Click the freezer.
- 2Take note of the pet ID of the pet you want to release.
- 3Click Release Pet.
- 4Click the button showing the pet ID you wish to release.
- 5Click Confirm Release.
- 6Go to your redelivery portal and redeliver the pet like any normal pet.
Renaming a freezer
- 1Click the freezer.
- 2Click Rename.
- 3Type the desired name into the blue input box.
- 4Click Submit.
Important notes
- ☆Pets retain their pairing when frozen.
- ☆Frozen pets retain their lust percentage when frozen and unfrozen.
- ☆Frozen pets do not eat.
- ☆Frozen pets are not lost.
- ☆Frozen pets are stored safely.
- ☆Only live pets can be frozen.
PotionsFriends Forever Potion
Turn a pet into a permanent companion that keeps its current appearance.
+
Friends Forever Potion
Turn a pet into a permanent companion that keeps its current appearance.
A Friends Forever Potion turns a pet into a permanent companion. Pets can be made Friends Forever at any age.
What Friends Forever does
- ☆No longer eats.
- ☆No longer breeds.
- ☆Does not retire.
- ☆Does not receive future updates.
- ☆Does not rebuild into a newer version.
- ☆Keeps the same appearance it had before becoming Friends Forever.
- ☆Does not have its traits changed.
Why Friends Forever pets do not update
Friends Forever pets are intentionally preserved exactly as they are. If a pet is cosmetically unique, rebuilding or updating it could change that. For this reason, Friends Forever pets are not updated or rebuilt.
How to use a Friends Forever Potion
- 1Rez the potion.
- 2Click the potion. The hovertext will change to say it is armed and to click the live pet.
- 3Click the pet.
- 4Click Confirm on the popup menu.
MarketVirtual Market
List live pets and babies on the website so buyers can search and teleport to them.
+
Virtual Market
List live pets and babies on the website so buyers can search and teleport to them.
The Virtual Market lets users list live pets and babies for sale on the website. Other users can search listings and teleport directly to the listed pet that is set for sale in-world.
How to list or unlist a pet
- 1Click the pet.
- 2Click the gear icon on your HUD.
- 3Click the Market On/Off toggle.
- 4Right click the pet and select edit.
- 5Set the pet for sale at your preferred price.
If the pet is not listed, clicking the Virtual Market toggle will list it. If the pet is already listed, clicking the toggle will unlist it.
Automatic unlisting
Any pet or baby sent to the forest will automatically unlist itself from the Virtual Market to help keep listings up to date.
How to find and buy a pet
- 1Open the Virtual Market at nixsybreedables.com/market.
- 2Search by owner UUID, pet name, pet ID, trait, gender, or other available filters.
- 3Click Apply.
- 4Click a listing you like.
- 5A normal Second Life teleport page will open. Take the teleport in SL.
- 6You should land right next to the pet that was set for sale.
StorageOffspring Sorter
Store unlimited unborn offspring on the server and access them from any sorter you own.
+
Offspring Sorter
Store unlimited unborn offspring on the server and access them from any sorter you own.
The Offspring Sorter is an interaction point used to store and manage offspring/unborn pets. The sorter can hold an unlimited number of offspring and comes in 1-slot, 3-slot, and 5-slot versions.
How sorter storage works
- ☆All offspring placed into any sorter you own are stored on the server.
- ☆Offspring stored in one sorter can be accessed from any sorter you own.
- ☆Server-stored offspring cannot be lost or eaten by Second Life.
- ☆You cannot lose offspring by changing, deleting, derezzing, or re-rezzing sorters.
How to store offspring — Method 1
- 1Pick up the offspring you want to store so they are in your inventory.
- 2Select the offspring in your inventory.
- 3Hold Ctrl, left click, and drag the offspring onto the sorter.
- 4Release your mouse button.
- 5The sorter stores them on the server and deletes them from its own in-world contents.
How to store offspring — Method 2
- 1Pick up the offspring you want to store so they are in your inventory.
- 2Right click the sorter and select edit.
- 3Go to the contents tab of the edit menu.
- 4Select the offspring in your inventory.
- 5Drag the selected offspring into the sorter’s contents tab and release your mouse button.
- 6The sorter stores them on the server and deletes them from its own in-world contents.
You can page through stored offspring by clicking the left and right arrow buttons on the sorter.
How to rez offspring from the sorter
- 1Click the offspring you want to rez.
- 2Click the sorter again.
- 3Choose one of the rez options listed.
- 4The selected offspring will rez in-world in front of the sorter.
- 5The sorter will update the display versions of your stored pets.
Important notes
- ☆You can only interact with sorters you own.
- ☆Rezzed offspring can then be used normally.
HelpNeed Help?
What to include when submitting a support ticket.
+
Need Help?
What to include when submitting a support ticket.
If something is not working, please submit a support ticket.
When submitting a ticket, include as much information as possible:
- ☆Your Second Life avatar name.
- ☆Pet ID.
- ☆Baby/offspring ID if relevant.
- ☆Region name.
- ☆What you were trying to do.
- ☆What happened.
- ☆Screenshots if possible.